The lack of a convenient way to develop applications that use Azure Service Bus used to be a real pain for many years. Relief came with the release of the Azure Service Bus emulator in November 2024, but the developer experience remained clunky. It required either a manual installation or Docker container setup, which added dev-time overhead. With Aspire’s new support for the Service Bus Emulator, everything finally comes together. In this quick post we will look at the steps needed to have a F5-able solution that integrates the Azure Service Bus Emulator, an Azure Service Bus Trigger function and an Aspire Dashboard custom command to test the trigger.
Note that this post assumes you have a basic understanding of Aspire and you already know how to create an Aspire solution.
Add the emulator to the app host
First, add the required hosting NuGet package:
dotnet add package Aspire.Hosting.Azure.ServiceBusThen add the Service Bus resource to the builder:
var builder = DistributedApplication.CreateBuilder(args);

var serviceBus = builder
    .AddAzureServiceBus("myservicebus")
    .RunAsEmulator(c => c
        .WithLifetime(ContainerLifetime.Persistent));
Aspire will add the emulator as a Docker container to the app host. By default the container lifetime is Session which means it is started everytime app hosts starts. The lifetime Persistent will save us some time because the container will keep running when the app host stops.
Moving on, we’ll add a Service Bus queue. In this example we are adding a queue but we might as well have added a topic with a subscription.
serviceBus
    .AddServiceBusQueue("myqueue");
Adding the queue to the resource creates it directly in the emulator. This means we can skip the JSON configuration file, at least for this simple example.
Add Azure Functions to the app host
Keep in mind Azure Functions support is currently still in preview for Aspire so things might change.
It’s important that your Azure Functions tooling is up-to-date before enrolling a function in Aspire, so make sure to check for updates in your IDE. A description for Visual Studio can be found here: Azure Function project constraints.
Adding the Functions projects is a simple one-liner.
builder.AddAzureFunctionsProject<Projects.AspireApp_FunctionApp>("functionapp")
    .WithReference(serviceBus)
    .WaitFor(serviceBus);
By specifiying the reference to the Service Bus the connection string will be injected into the Functions project so it can connect to the emulator. We will make it wait for the serviceBus to start using the WaitFor method. The emulator will take some time to start-up and the function would get some unneeded errors since the emulator does not respond yet.
Set up the Service Bus function
The Azure Functions project does not need any Aspire NuGet packages and the Program.cs does not need any Service Bus specific configuration:
using Microsoft.Azure.Functions.Worker.Builder;
using Microsoft.Extensions.Hosting;

var builder = FunctionsApplication.CreateBuilder(args);

builder.AddServiceDefaults();

builder.ConfigureFunctionsWebApplication();

builder.Build().Run();
The only part that is Aspire related is builder.AddServiceDefaults() which adds the Aspire service defaults.
At last we can now add the Service Bus Trigger that will connect to the Aspire Emulator:
using Azure.Messaging.ServiceBus;
using Microsoft.Azure.Functions.Worker;
using Microsoft.Extensions.Logging;

namespace AspireApp.FunctionApp;

public class ServiceBusFunction
{
    private readonly ILogger<ServiceBusFunction> _logger;

    public ServiceBusFunction(ILogger<ServiceBusFunction> logger)
    {
        _logger = logger;
    }

    [Function(nameof(ServiceBusFunction))]
    public async Task Run(
        [ServiceBusTrigger("myqueue", Connection = "myservicebus")]
        ServiceBusReceivedMessage message,
        ServiceBusMessageActions messageActions)
    {
        _logger.LogInformation("Successfully received message with body: {Body}", message.Body);

        // Complete the message
        await messageActions.CompleteMessageAsync(message);
    }
}
We specify the name of the queue myqueue that we added to the emulator in the app host. Then we also specify the name of the Aspire Service Bus resource: myservicebus. These 2 properties are enough to let Azure Functions setup the connection.
So how does this work?
To understand how and why this works we have to look at how Azure Functions retrieves the connection string. From the docs:
The connection property is a reference to environment configuration which specifies how the app should connect to Service Bus. It may specify:
- The name of an application setting containing a connection string
- The name of a shared prefix for multiple application settings, together defining an identity-based connection.
Aspire injects the connectionstring into the environment variables following it’s regular naming convention:
Aspire__Azure__Messaging__ServiceBus__myservicebus__ConnectionString.
However, if we look further we see that another variable is injected: myservicebus.

This myservicebus variable is used by the Connection property of the trigger.
Testing with a custom command
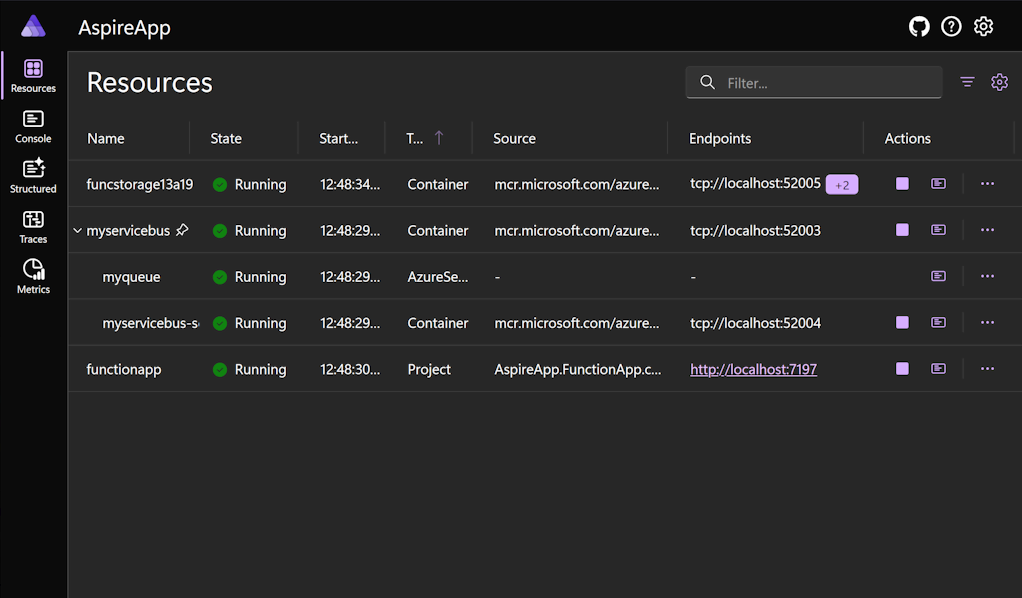
With the emulator running and the Function app connected, we can now send test messages. There are many ways to accomplish this and one way is using an Aspire custom command that can be called from the Aspire dashboard.
Let’s add and extension method to keep our app host code clean:
public static class ServiceBusExtensions
{
    public static IResourceBuilder<AzureServiceBusQueueResource> WithTestCommands(
        this IResourceBuilder<AzureServiceBusQueueResource> builder)
    {
        builder.ApplicationBuilder.Services.AddSingleton<ServiceBusClient>(provider =>
        {
            var connectionString = builder.Resource.Parent.ConnectionStringExpression
                .GetValueAsync(CancellationToken.None).GetAwaiter().GetResult();
            return new ServiceBusClient(connectionString);
        });

        builder.WithCommand("SendSbMessage", "Send Service Bus message", executeCommand: async (c) =>
        {
            var sbClient = c.ServiceProvider.GetRequiredService<ServiceBusClient>();
            await sbClient.CreateSender(builder.Resource.QueueName)
                .SendMessageAsync(new ServiceBusMessage("Hello, world!"));

            return new ExecuteCommandResult { Success = true };
        });

        return builder;
    }
}
We get a Service Bus connection string, in a slightly ugly way, from the Azure Service Bus resource ConnectionStringExpression property and use it to register a Service Bus Client. Then, we add the command on the Service Bus Queue resource. We can get the queue name for sending the message from the builder.Resource.QueueName property.
Finally we can simply call the extension method from our app host:
serviceBus
    .AddServiceBusQueue("myqueue")
    .WithTestCommands();
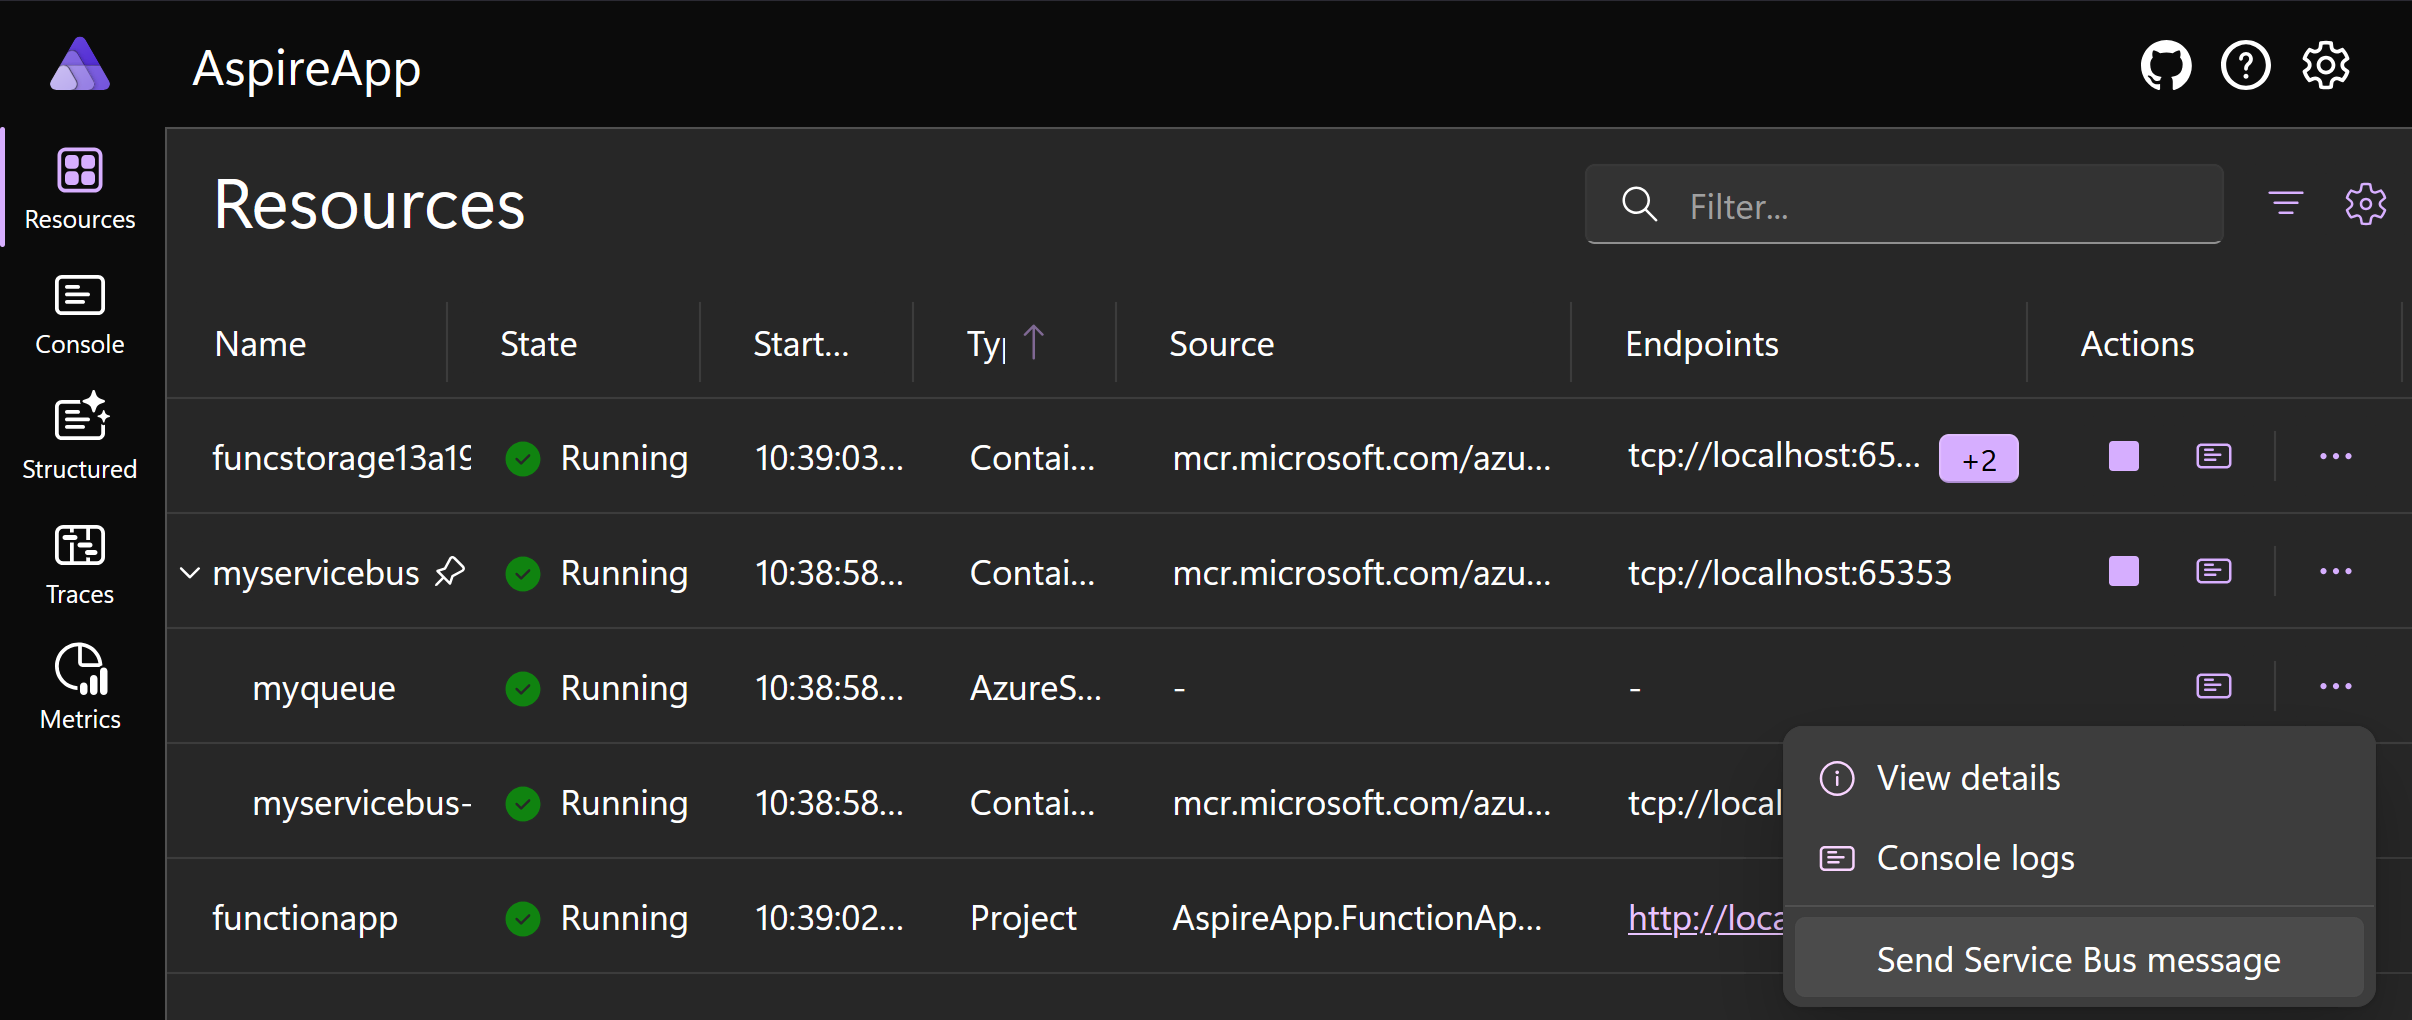
This results in a new command in the Aspire dashboard on the queue resource:

Conclusion
Aspire significantly streamlines local development of Azure Functions with Service Bus triggers. By handling emulator setup and connection injection, it removes much of the overhead and friction, enabling a better developer workflow.
The full example solution can be found here on GitHub.
